A retrospection and introduction to JavaScript and Tauri
This article is the start of a small series of blog articles. In this series, I would like to take a closer look at desktop application development with Tauri. Applications for the desktops are everywhere in everyday life. However, developing them is sometimes a little trickier than you might first imagine. In this series, I’d like to use a demo application to give you an idea of what it’s like to create applications using Tauri. To do this, we’ll build a simple text editor. It shall contain a text field whose content can be saved and loaded as a file. For this feature, the native file manager window will be called.
You may ask the question why we want to relay cross platform web technologies. Native technologies will get the job done, too?!
This is very serious question. While the use of native technologies will lead most the times to better performing application, they introduce the hustle to mange different code bases for each platform. This circumstance can answer the question regarding cross platform.
Let’s take a closer look about JavaScript. Although JavaScript finds its origin in websites, it offers many possibilities to implement complex and elaborate applications, especially in the last years with frameworks like React, Svelte or Vue. But how did we get into this situation in the first place?
From Plain JavaScript to Electron
JavaScript, as a programming language, has the monopoly in the browser. However, it was only conceived as a small language for scripts. Simplicity was more important than speed. But this turned out to be a problem for JavaScript. It took a while until browsers, with the help of their engines, found ways to make JavaScript more performant. Google’s V8 engine (Chromium) was the first to achieve this goal to a large extent. After this milestone, JavaScript was suitable for larger projects. It also didn’t take long for JavaScript to leave the browser. With Node.js, which is based on the V8 engine, there was now a way to run JavaScript like a normal program.
So, now we come to Electron. This is the best known way to develop cross platform applications with web technologies because it combines Node.js and the Chromium browser. You get the great advantage that the program can communicate with the file system like a normal application, without having to go the detour via the Web APIs. However, Electron is known for its not to underestimated disadvantage of sending a separate browser along. In the case of Chromium, this usually resulted in a very resource-intensive application. There is an alternative to Electron, which I will also use in this article: Tauri. This Rust-based open source framework offers almost the same functionality as Electron, but can enable smaller and more efficient applications through its own WebEngine „Wry“. I already covert it’s 1.0 release on this blog
The Frontend
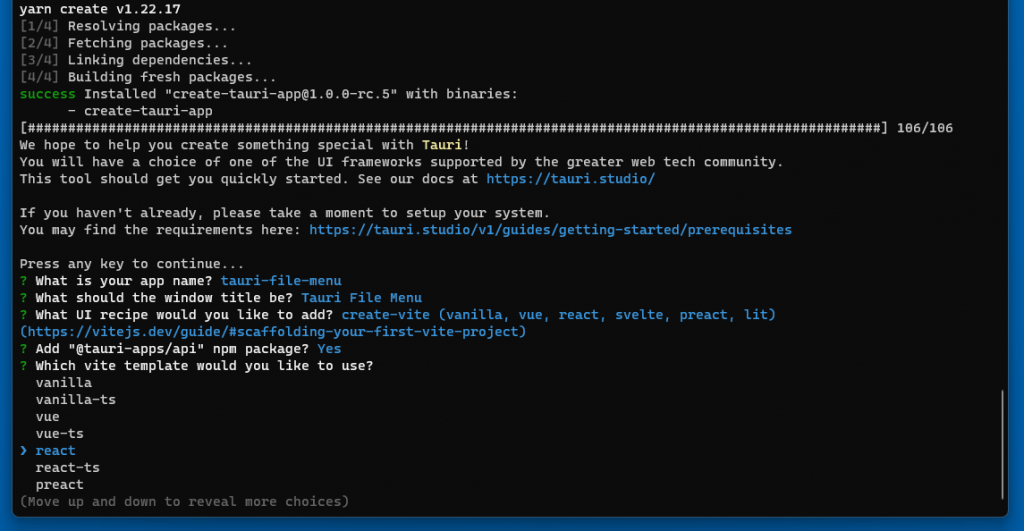
To create our application, we run yarn create tauri-app or npx create-tauri-app in the console.
yarn create tauri-app# or
npx create-tauri-app
At first, we need to give our app name. This name can be different from the name which will be displayed in the window later on. Afterwards, we need to select our frontend framework. Since we are using React in our project, we have two options. On the one hand we can select React (using Create React App) straight from the list. On the other hand, we can use vite in combination with React. For my project configuration, I used vite due to personal preferences. For this tutorial, it is not relevant which option will be selected.
After all packages were installed, we can change into the newly created directory. There we can use yarn tauri dev or npm run tauri dev to run a development server and thus see if everything worked.
yarn tauri dev# or
npm run tauri dev
Now, let’s create our frontend. At first, we will delete the boilerplate code. Then, we will create a textarea with 5 rows. This is hooked to the text variable via a useState hook.
const [text, setText] = useState("");

return (
    <div className="App">
        <textarea
            rows={5}
            onChange={(e) => {
                e.preventDefault();
                setText(e.target.value)
            }}
            value={text}>
            </textarea>
        </div>
    )
}
Now, our application should look something like this:
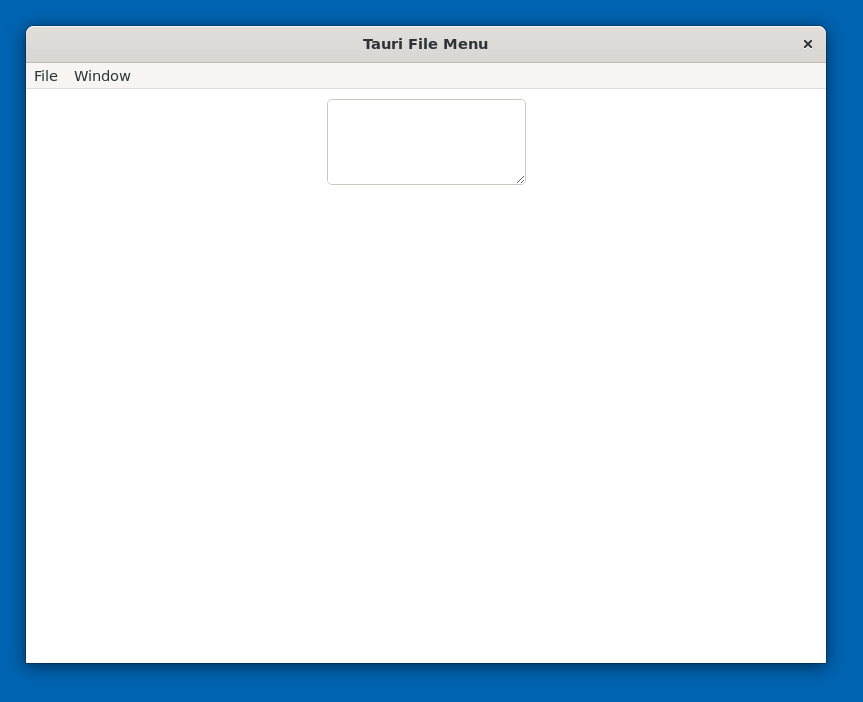
The useState hook will give us the ability to change the content of the textarea programmatically later on. That’s all we need on the frontend side. In the next article, we look into the Rust part of the application. Stay tuned!
Schreibe einen Kommentar