3D worlds have always some sort of fascination in themself. Today, the creation of such worlds is not a long journey anymore. Nowadays, it’s easier than ever to view 3D worlds in browsers. In this article, I want to take a look at a new library in the Svelte Ecosystem which enables 3D world creation at an ease. This library is called Threlte and uses the Three.js library for rendering. However, it is not just a wrapper for a new ecosystem. Threlte extends the core functionalities of Three.JS with some easy tools. Gone are the days where you needed to write many lines of JavaScript to render a cube in the browser. So, let’s take a closer look and dive in.
First, we need to create a new Svelte project. For this task, I will use the web bundler vite. I create a new project with the following lines:
yarn create vite
# or
npm create vite@latest
Afterwards, I select the Svelte template. The last thing we need to do is the installation from Threlte itself. This can be done with the command:
npm install @threlte/core @threlte/extras threeNow, we can get started.
Our first cube
At first, we want to create a container for our canvas. All 3D objects are located in the Canvas only. It is the window into the 3D world.
The container will have a height and width of 100%.
.container{
 width: 100%;
 height: 100%;
}
We import the canvas from Threlte afterwards. We have to specify the height and width of our canvas in pixels. In this example, it is 1280px for the width and 720px for the height.
Then, we create a new file in which we store our entire Scene. This is described as Scene.svelte. We also import this component into our App.svelte file.
This is what our code in our App.svelte file looks like now:
<div class="container">
    <Canvas size={{width: 1280; height: 720;}}>
         <Scene />
    </Canvas>
</div>
The camera
We have already created a frame for our 3D objects. Now, all we need is a camera and the previously mentioned 3D objects.
Let’s start with the camera. We use a PerspectiveCamera in our project. Why a PerspectiveCamera? This type of camera tries to imitate the depth perception of our eye. The alternative to a perspective camera would be an orthographic camera. All objects are received the same by this type of camera – regardless of the distance from the observer.
The camera’s perspective is determined by a vector. In our example, the vector has the coordinates: x: 30, y: 10, z: 5. Additionally, the camera has a field of view of 24.
To be able to rotate around our object, we use the OrbitControls component again. Here, we specify a target to move the camera above the plane.
Let’s conclude in the code:
<PerspectiveCamera position={{ x: 30, y: 10, z: 5 }} fov={24}>
  <OrbitControls
    target={{ y: 3 }}
  />
</PerspectiveCamera>
We still see next to nothing. So let’s add the objects beginning with a cube.
The Mesh
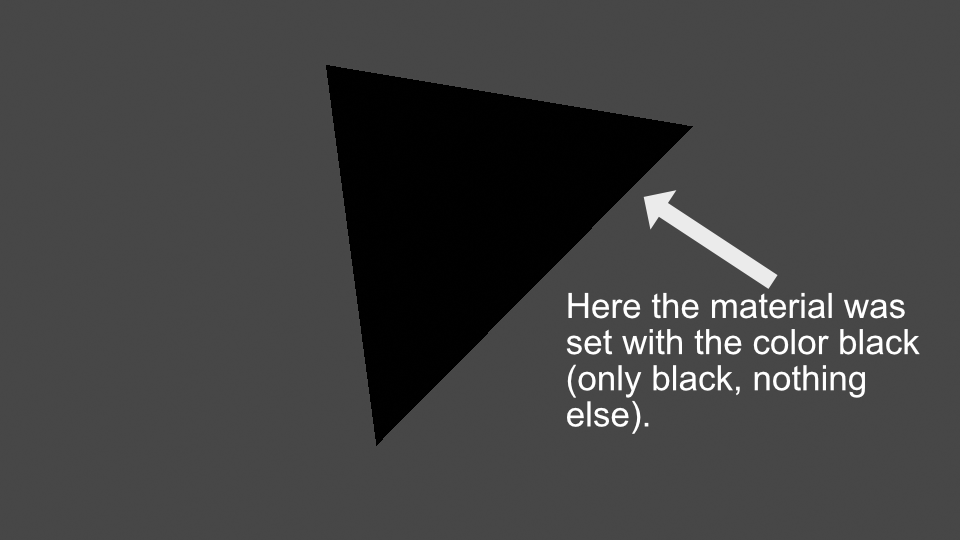
We use a 3D object for the floor. 3D objects are called meshes. They consist of many points in space that are connected to each other. Three of these different points are forming a surface. This surface is called a polygon – or to be more accurate: a triangle. Each surface you can see in games or animations consists out of polygons. But why 3? Well, this is the minimum number of points necessary to constitute a surface. Of course, you could also create a surface from any number n of points. However, this would require more effort. In the case of an N-Gone, it is more about the edge cases, where the points are no longer on a common plane. In these cases polygons are used.
The entirety of polygons in a mesh are described as the geometry of the mesh.
Now, the computer knows the shape of the object. But it sitll needs to know one more fact: How should the surface be drawn? We use materials for this part. The materials use shaders under the hood. These shaders are small programs that can run entirely on the GPU and determine the color of the pixel.
This part can quickly gain complexity when realistic standards are applied to these materials. In this article, I still want to keep it simple. We used the standard material.
Our box is 4 x 4 x 4 units in size.
Also, our material has the color „white“
All in all it looks like this now:
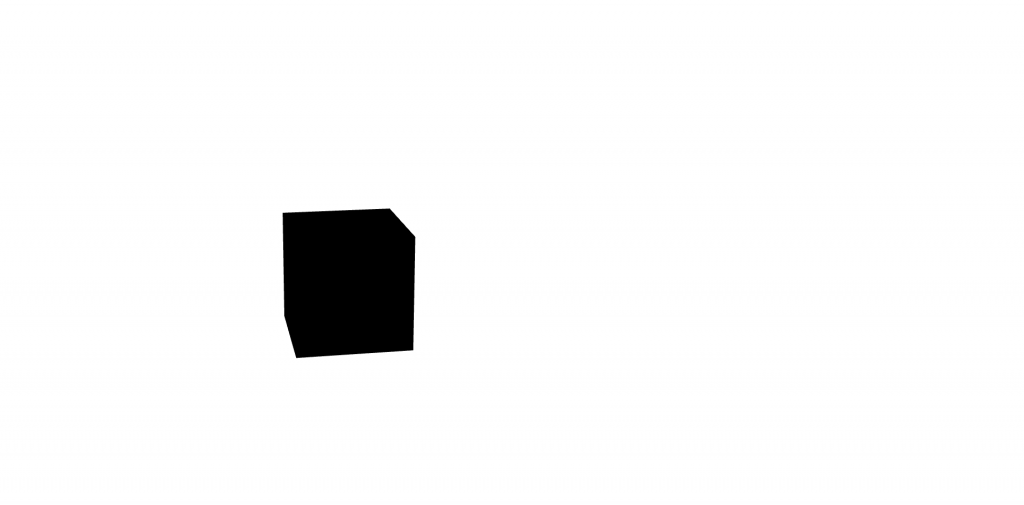
<Mesh
    geometry={new BoxBufferGeometry(4, 4, 4)}
    material={new MeshStandardMaterial({ side: DoubleSide, color: "white" })}
/>
But now when we look into the browser window, we see a black cube. Why? Do we have the wrong material?
Light
We still miss an important ingredient in our scene: the light. For this, we use DirectionalLight, which works similar to the sun. This must still have a direction, so that is not shining directly from above on the object. For this, we use the position position={{ x: 10, y:10, z:10}}.
<DirectionalLight position={{ x: 10, y: 10, z: 10 }} />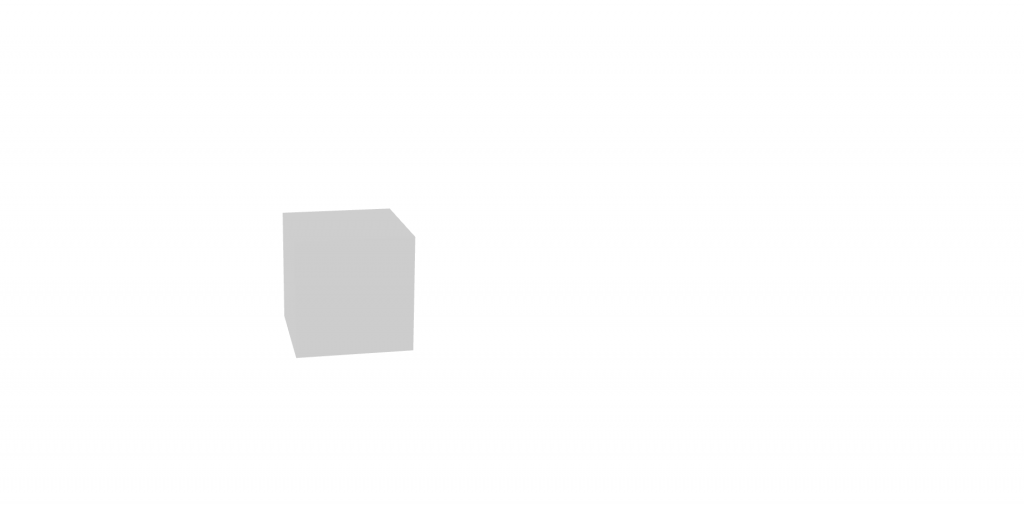
And now, we have our first cube to rotate around too!
Here is the code of the article:
https://gist.github.com/ngarske/82820bfc4240c496bdf08c4ddbb09a68
Schreibe einen Kommentar