
In the last article, we created a small scene with a cube. But we have only just begun. The world is „enlightened“ by our directional light. However, something is still missing. Where there is light, there is also shadow. Shadows are quite easy to implement. But first, we need to create a floor on which we can see the shadows. For this, we use a mesh again, which this time gets a CircleBufferGeometry. This creates a disk instead of a cube. Also, we use the default material again. When looking into the browser window, we see that it is still the wrong way around. We can correct this by rotating it by 90°. For this, we have to use the x-axis.
 <!-- Floor -->
  <Mesh
    rotation={{ x: -90 * (Math.PI / 180) }}
    geometry={new CircleBufferGeometry(4, 72)}
    material={new MeshStandardMaterial({ side: DoubleSide, color: "white" })}
  />
Now, we come to the shadows themselves. We need to tell the directional light to activate shadows with the argument shadows. If a mesh should cast a shadow, it receives the castShadow argument. On the other hand, if a mesh shall receive shadows, it gets the recieveShadow argument.
This is how it looks now:
<DirectionalLight shadow position={{ x: 10, y: 10, z: 10 }} />
<Mesh
    castShadow
    geometry={new BoxBufferGeometry(4, 4, 4)}
    material={new MeshStandardMaterial({ side: DoubleSide, color: "white" })}
/>
<!-- Floor -->
<Mesh
    receiveShadow
    rotation={{ x: -90 * (Math.PI / 180) }}
    geometry={new CircleBufferGeometry(4, 72)}
    material={new MeshStandardMaterial({ side: DoubleSide, color: "white" })}
  />
But now, our objects are still in each other. We quickly change that. We put the cube into a group and move it 5 units on the x-axis.
<Group position={{y:5}}>
    <Mesh
    castShadow
    geometry={new BoxBufferGeometry(2, 2, 2)}
    material={new MeshStandardMaterial({ side: DoubleSide, color: "white" })}
    />
</Group>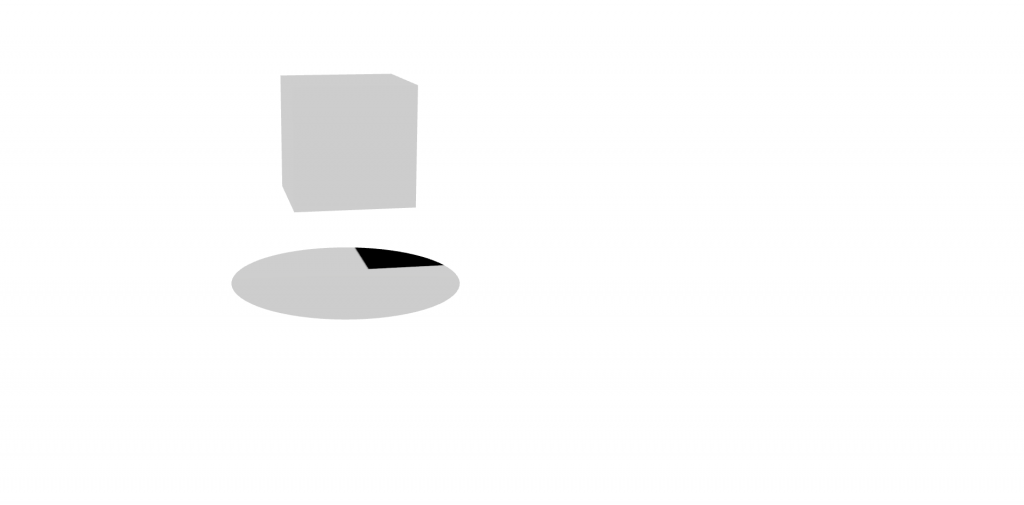
Currently, the shadows are still very dark, so we use an AmbientLight with a strength of 0.2 to make the shadows more bright.
<AmbientLight intensity={0.2} />
But how do we bring movement into the static image? As an example, let’s rotate our cube. This operation takes place in every image that is rendered. For this, we use the useFrame hook. But first, we have to initialize a variable. This variable is called rotation. We increase this variable by 0.01 each frame. At last, we specify this variable for the y-axis. This is how it looks right now:
let rotation = 0

useFrame(() => {
    rotation += 0.01
})

...

<Mesh
      ...
      rotation={{y: rotation}}
/Mesh>
Let’s add some objects
Until now, everything works perfectly. But we have still left out an important point. How do we add external objects (created in 3D modeling software like Blender or downloaded from a platform like Sketchfab) to our scene? This is a bit more difficult.
In this article, I use an object I created some years ago that is available for free on Sketchfab (in fbx format that can be converted to obj).
First, we create the variable island with the value null. But why don’t we assign the object right away? This has to do with the fact that 3D models are handled similar to files. They have to be loaded from storage before being assigned to the scene. This need comes from the process of decoding the specific file format and obtaining all the necessary information. For this part, we need a loader for OBJ file format. This loader now loads our file and passes the data to the variable island. Also, the model must be accessible for the browser and therefore has to be placed in a public directory.
let island = null

const loader = useLoader(OBJLoader, () => new OBJLoader());
loader.load("island.obj", (obj) => {
    island = obj;
})
With our mesh obtained, we must check whether the object is not null. If this is true, we can load the geometry from the model. We do this with island.children[0].geometry. This seems a little counterintuitive at first. However, let’s not forget that multiple objects can be saved in such files.
{#if island != null}
  <Group position={{ y: 2 }}>
        <Mesh
          interactive
          castShadow
          recieveShadow
          geometry={island.children[0].geometry}
          material={new MeshStandardMaterial()}
        />
  </Group>
{/if}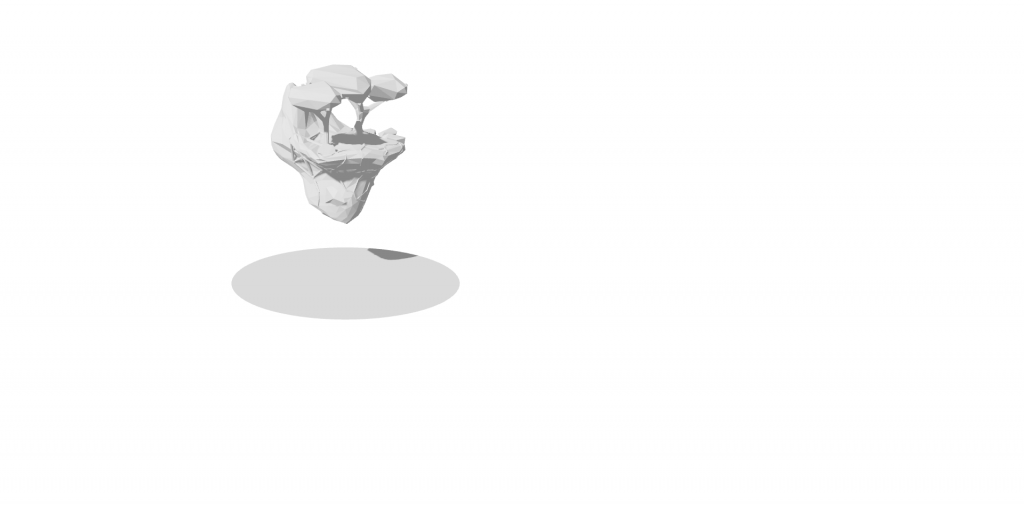
Finally, we have imported our lovely model.
Here is the code of this article:
https://gist.github.com/ngarske/c568a7f9e5890754ee02064a77763535
Schreibe einen Kommentar