File menus and more
In the last article, we built the frontend part of our application. Now, let’s create the save and open menu.
To build a typical GUI menu, we switch to the Rust side of the project. Therefore, we look into the src-tauri/src/main.rs file. This probably looks like the following code snippet in a fresh project:
#![cfg_attr(
all(not(debug_assertions), target_os = "windows"),
windows_subsystem = "windows"
)]

fn main() {
    tauri::Builder::default
     .menu(tauri::Menu::os_default(&context.package_info().name))
      .run(tauri::generate_context!())
      .expect("error while running tauri application");
}
There is already a standard menu. This will be replaced by our own new menu.
In order to do so, we add a menu category with the name „File“ and the subcategory field „Close“, which we give the ID „close“. We also assign the key combination Ctrl+Q (Q = quit, a typical shortcut) to this menu item.
.menu(Menu::new().add_submenu(Submenu::new("File",
    Menu::new()
        .add_item(CustomMenuItem::new("close", "Close").accelerator("cmdOrControl+Q"))
If we look into our application, we see that we have a menu – but it has no function so far.
Let’s change that by adding the on_menu_event API. We specify a menu event handler in our match clause through the use of our ID. The event.window().close().unwrap(); closes our application windows:
.on_menu_event(|event| match event.menu_item_id() {
    "close" => {
        event.window().close().unwrap();
    }
    _ => {}
}
If you click on „close“ menu item, the application windows shall be closed.
Now, let’s add some more functionality to our menu:
.add_item(CustomMenuItem::new("open", "Open File").accelerator("cmdOrControl+O"))
.add_item(CustomMenuItem::new("save", "Save File").accelerator("cmdOrControl+S")),

// und bei on_menu_event
"save" => {}
"open" => {}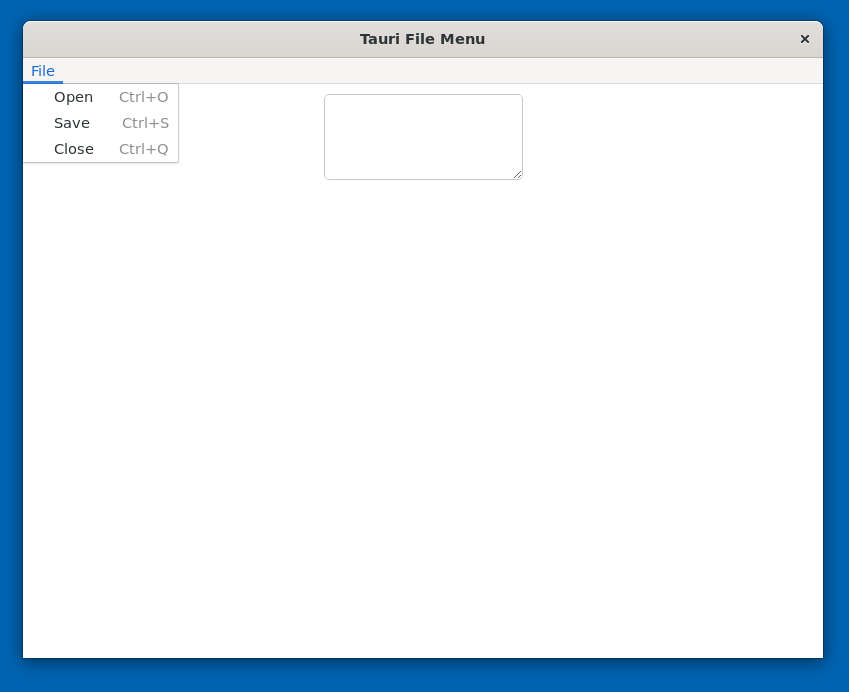
We have to create opening and saving logic for the remaining menu items. Let’s start with saving files and, therefore, introduce the concept of events.
Events
First things first. We can send an event from our backend (i.e. the Rust part of our application, which deals with the operating system) to our frontend (i.e. the React application, which will be shown to the user inside the WebView) with the command event.window().emit("menu-event", "save-event").unwrap();. This statement uses the concept of a sender and receiver. The sender says what the event is called and attaches a payload. On the other side, the receiver can always listen for a specific event and read the information from the payload. One event can have multiple listeners. Conversely, an event can also have multiple senders. That way, the frontend and backend can send and receive events.
In our example, we deal with an event being sent from the backend to the frontend. The event has the name „menu-event“ and the payload „save-event“. We add the necessary code into the previously mentioned match clause. Later, we want to use the payload to decide which menu to open. On the frontend side, we now create two useState() variables. The first variable is called menuPayload and will take the menu event type string as its data. The second variable is called menuOpen and works as a boolean to check if the menu should be open.
const [menuPayload, setMenuPayload] = useState("");
const [menuOpen, setMenuOpen] = useState(false);
Tauri gives a handful of APIs to work with in the frontend part. Therefore, we create a useEffect hook: useEffect(() => {}, []) By using that, we listen for the event „menu-event“ and return the payload to console.log.
useEffect(() => {
    listen("menu-event", (e) => {
        console.log(e);
    });
}, []);
Now, we overhand the menu type to the setMenuPayload state and set MenuOpen to true.
useEffect(() => {
    listen("menu-event", (e) => {
      console.log(e.payload);
      setMenuPayload(e.payload)
      setMenuOpen(true)
    })
  }, []);
We then go into another useEffect hook that executes the appropriate menu based on the given event type:
useEffect(() => {
    if (menuOpen) {
      switch (menuPayload) {
        case "open-event":
          OpenFile();
          break;
        case "save-event":
          SaveFile();
          break;

        default:
          break;
      }
      setMenuOpen(false)
    }
}, [menuOpen]);
Open files
Now, it easy to implement a dialog for opening files. Tauri gives us the ability to open a system dialog from the frontend. These are asynchronous operations, which is why we use two useEffect hooks. We can run into problems very quickly if these operations are not separated.
But before we do that, we have to allow the methods in tauri.config.json:
"allowlist": {
"fs": {
"writeFile": true,
"readFile": true
},
"path": {
"all": true
},
"dialog": {
"open": true,
"save": true
}
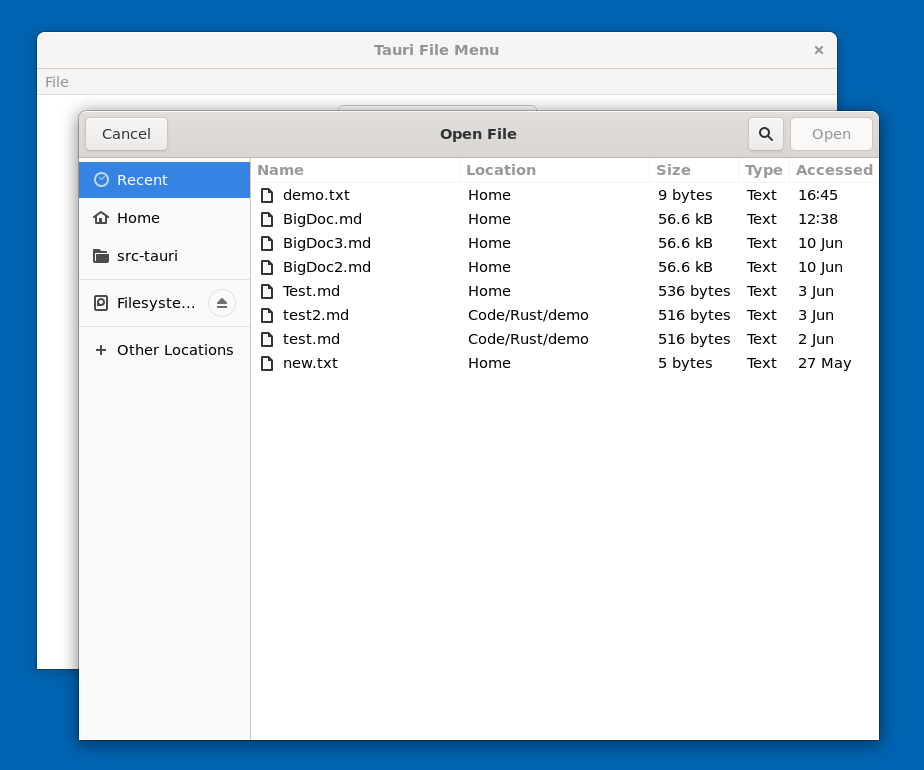
},To open a file, we use a JavaScript try-catch statement. We log the error in case something goes wrong during the process. let filepath = await open(); opens a native system menu and returns the path to the selected file into the variable filepath. let content = await readTextFile(filepath); reads the content of the file we selected. Finally, we save the content in setText(content);.
const OpenFile = async () => {
    try {
        let filepath = await open();
        let content = await readTextFile(filepath);
        setText(content);
    } catch (e) {
        console.log(e);
    }
};
Finally, we can open the native file window of the given operating system.
Saving files
The logic for saving files looks very similar. With let filepath = await save();, we get the location of the file, which we write with await writeFile({contents: text, path: filepath,});.
Both functions now look like this:
const SaveFile = async (text) => {
    try {
        let filepath = await save();
        await writeFile({contents: text, path: filepath,});
    } catch (e) {
        console.log(e);
    }
};
Now our application is ready.
Summary
Now we have it. A simple logic for saving and opening files that integrates natively into the operating system. Although these functions look simple, we had to leave the „browser window“ and communicate with two different parts of our application. We also had to use two different programming languages. This is a rare thing to see in frameworks.
The concept of sender/receiver may look more complex than it should be, but it gives you the flexibility to build a great application.
All of the code in this tutorial is available in my GitHub repository: https://github.com/ngarske/tauri-file-menu
Schreibe einen Kommentar